Design | Cut | Build – Season 3, Episode 9 – Building Your Own Welding Cart!
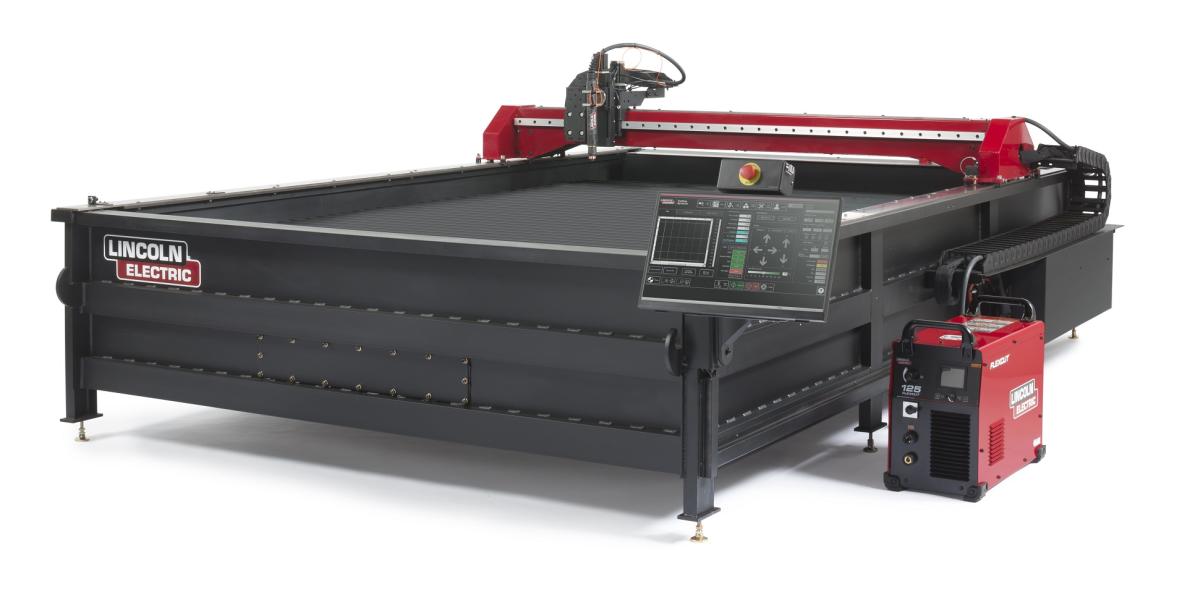
Are you tired of having limited garage space while working? Or do you like to weld in different areas of your shop? Now you can maximize your space and weld anywhere in your shop! In this episode, we show you how to design and create your very own welding cart. Using the Torchmate X and Torchmate 4400, we partnered with Aaron Hagar to create his welding cart for the Rat Runner’s Garage.
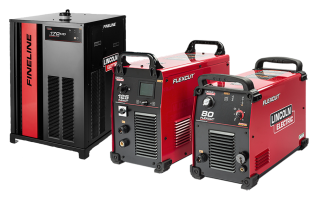
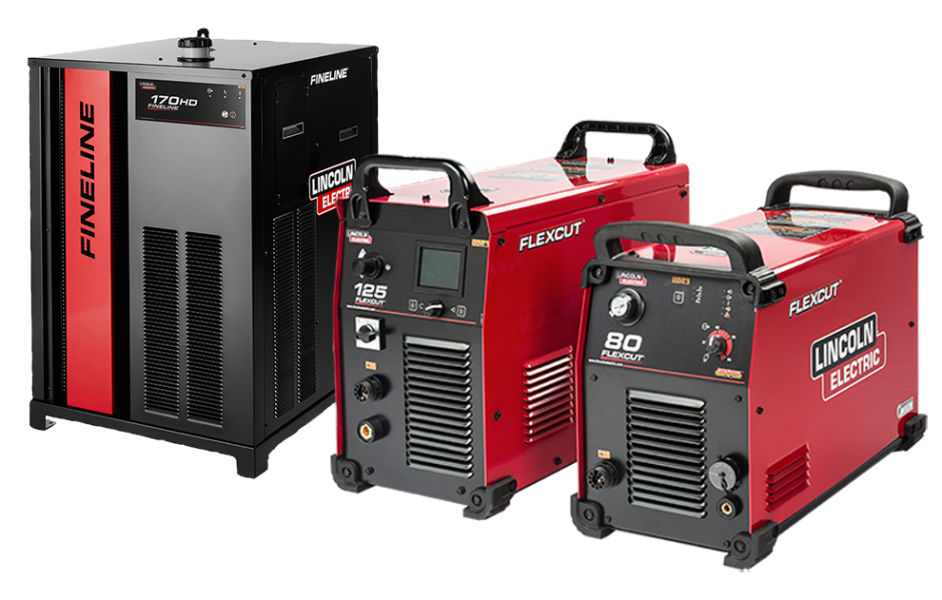
To start, you’ll need to cut out a few pieces of 2” square tubing on a band saw. Once you have your pieces ready, tack the outsides of the tubing to create the square frame for your welding cart. We decided to use ½” Mild Steel for the top of the welding cart, but you don’t need to go that thick. The reason we used the Torchmate X, was because of the attached FlexCut 125. We were able to cut out the top and then etch a grid pattern onto the top of the material. The FlexCut 125 offers plasma marking functionality that provides material markings without cutting too deep. On your FlexCut 125, you can easily use the plasma marking tool by turning a knob on your plasma cutter from cutting to marking!
Welding the Frame Together
.jpg)
To weld the frame together, we used the Tomahawk 625 plasma cutting system. The portability of the plasma cutter makes it easy to carry around and move around the workshop. Before welding on the top of the cart, it might be a good idea to flip the frame over and attach the wheels. Once the top of the welding cart is on, it may be too heavy to flip over. The wheel brackets can be cut out of 3/16” Mild Steel and the gusset supports can be cut from 3/8th Mild Steel.
Since we were making this welding cart for Aaron Hagar, we designed the gussets to look like A’s! You can use your logo or initials to create the gusset supports for your own welding cart. Once the wheels are mounted, you’ll have a better idea of how much space there is below the base and above the ground. If you’ll be working primarily on a flat surface, you can mount the base of the plasma cutter lower to the ground, in order to save more room at the top.
Creating Parts to Weld with Torchmate CAD

We designed a few extra pieces for the welding cart like a base for the tank and welder, hooks to hang helmets and grinders, and a rack to hold all of the clamps. Creating parts to weld is extremely easy and fast with Torchmate CAD. The software offers 3 welding tools: the basic weld, the XOR weld and the AND weld. The welding tools can fuse or separate shapes that have been pre-drawn to create the exact shapes you may need for your project build. To learn more about using the welding tools in Torchmate CAD, visit Torchmate University. Torchmate offers a complete video library and can show you how to use the welding tools.
Once your cart is assembled, it’s very important to make sure your compressed gas tank is insulated. To insulate the tank shelf, install a rubber pad, add heat shrink tubing to the chain holding the tank in place, and put a sleeve on the tank itself.
When you’re ready to build your own welding cart, visit FabricationForum.com to download the design files for this project. Once your customized welding cart is complete, share a photo to let us know how your project build went!


