Design | Cut | Build – Season 3, Episode 7 and 8 – Building a Mobile Plasma Table!
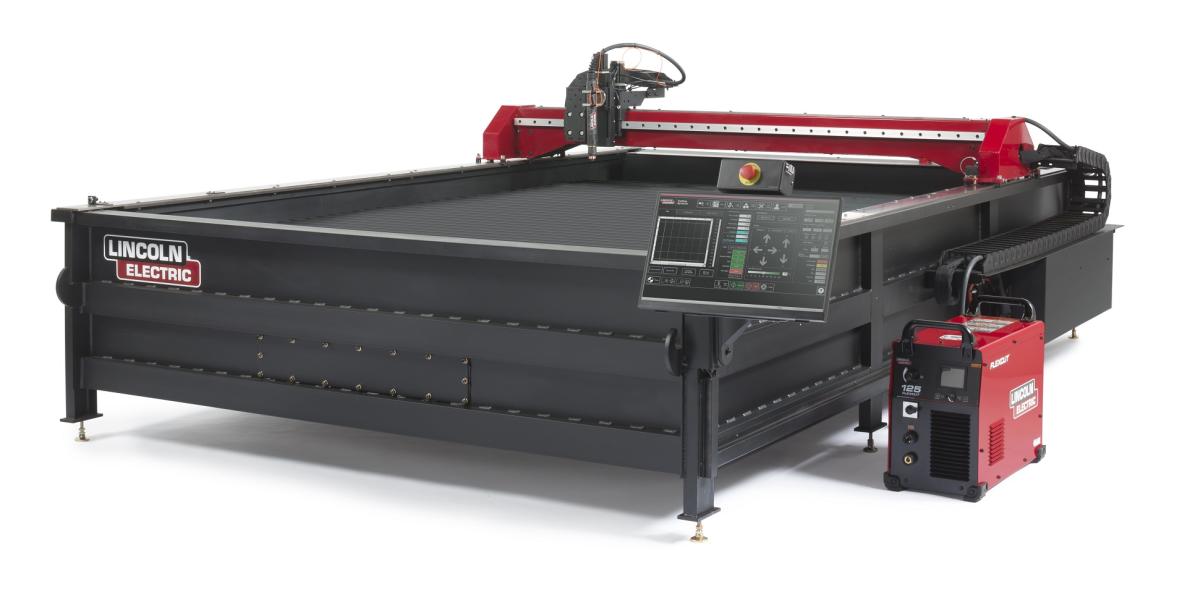
How can you make a plasma table better? By making it mobile! In episode seven and eight, we work with Juan Ibarra from the TV show Gold Rush, to design, cut, and build his Torchmate 4800 into a mobile plasma table. Juan wants to put his 4800 table into a trailer so he can cut parts on-the-go. Cutting jobs by hand at a customer’s location can be extremely time-consuming. Being able to cut parts on the job with your Torchmate table will limit your business downtime and optimize your productivity!
If your Torchmate table is a water table, you will need an external water tank to keep the water safe while you are on the go. Keeping the 4800 layout in mind, we decided to make use of the drain in the back left corner of the table. With designs for a drain valve, pressure valve, release valve, and baffles for the tank, we started our project build. With the Torchmate X cutting table and 14 gauge Mild Steel, you can cut out the top and bottom parts of the external water tank. To bend the lower portion of the water tank, we used an industrial breaker. However, the edges of the corner need to be as close together as possible and that can be difficult with large pieces of material. Creating a breaker bar will allow you to wrench the edges of the material and minimize any gaps between the edges. We cut two three inch squares out 3/16 inch material and a rectangle out of 1/8 inch to act as a spacer for the squares to put over the area that needs to be bent. However, the dimensions can be specific to your project needs, or if you just want to make a custom tool. Once you have all the parts cut and ready, you can weld it together!
Making a Custom Tool for Any Project

Our handy breaker bar would not have been possible without the Custom Parts Library on our CNC Plasma Cutting Table. With almost 90 programmable parts ranging from simple rectangles to complex pulleys, there is nearly an infinite amount of parts that can be developed from this library. This tool is especially powerful when combined with the 28 programmed parts in the ACCUMOVE VMD user interface.
Each shape is programmed to adjust to the exact dimensions you need for your project build. You can save on design time and get back to production faster than ever. Torchmate offers a complete video library and can show you how to use the custom parts library with Torchmate University, a step by step video guide to Torchmate CAD.
Once we had all the edges bent, we tacked each corner and then welded the gaps closed. Since the portable tank will house the water, it’s crucial that the seams and are completely welded together. We took an extra step and designed some baffles to put inside the tank. This will support the top of the pan and reduce any sloshing of the liquid when the machine is moving. Once you weld the fasteners on the outside of the tank, you can then weld all of the baffles in the machine to keep the water stable.
Leak-Proofing the Tank

To make sure there weren’t any leaks or holes, we tacked the top onto the bottom of the tank, grinded down the bungs, tack welded the bungs in the holes, seam-welded everything together, welded the top to the tank supports, and finally pressurized the tank and ran some tests with water and soap. It may take a few tries to find and close all of the leaks, but you don’t want to lose any water and risk spilling while transporting your cutting table. It’s better to find leaks now, before the external tank is installed and filled with water. For the final touch, we cut and design two table skirts to hide the external water tank. Since we were designing the configuration for Juan Ibarra, we decided to cut Lincoln Electric Torchmate 4800 GOLD RUSH onto the skirts. However, we don’t recommend you to make any alterations to your table and risk voiding your warranty!
If you’re ready to your own external water tank for your Torchmate, visit FabricationForum.com to download the design files for this project. Once you’re cutting on-the-go, share a photo so we can see your project build!


