Design | Cut | Build – Season 3, Episode 3 – Building a Kayak Rack and Custom Back Hitch
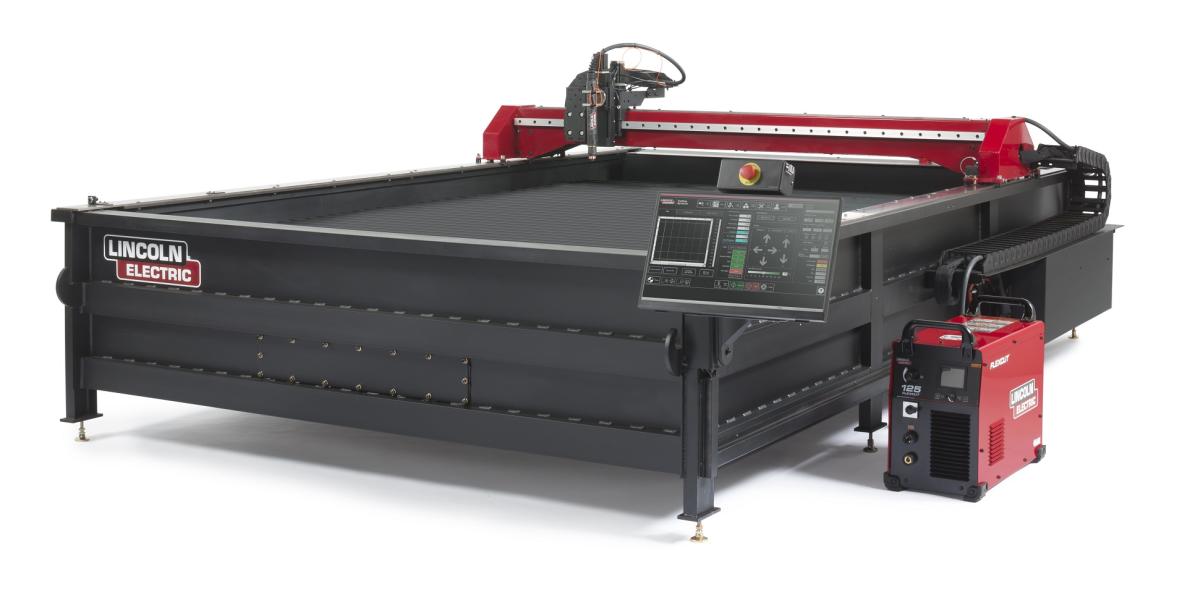
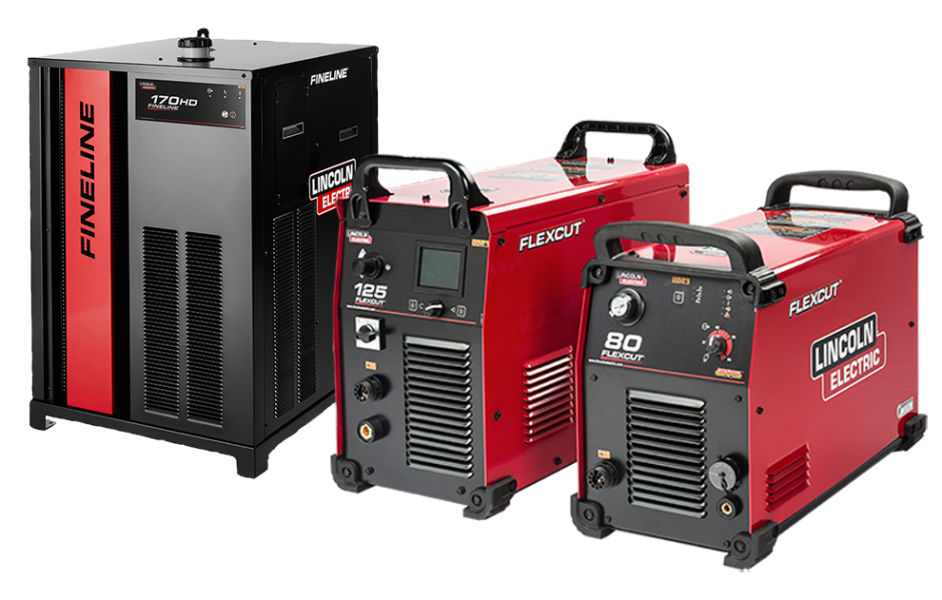
Do you love to kayak but traditional roof racks don’t work with your vehicle? Look no further! We have the ultimate solution for mounting and transporting your kayak and getting you back in the water. With the Torchmate 4400 Cutting Table and FlexCut 80 Plasma Cutter, creating and mounting a kayak rack has never been easier.
Using 11 gauge material, you’ll cut out four separate sides that will come together and fit like a jigsaw. There will also be a bottom piece that will mount to the top of your vehicle for support. It may take a few tries to weld the rack together, but you can adjust the configuration very easily in Torchmate CAD. After some trial and error, you’ll have the optimal design cut and ready to weld! The combination of a hand drawn plan and the Torchmate CAD Technology makes it easy to create the shape and overall dimensions of the design. You can upload any PDF/JPEG file into the CAD software to vectorize the drawing and turn it into a useable DXF file.
Torchmate offers a complete library of step-by-step video tutorials for the Torchmate CAD software that show you how to design and cut the parts that you need with Torchmate University.

As a surprise, we decided to fabricate a new back plate on an Overlander. With the Torchmate X cutting table and FlexCut 125 Plasma Cutter, we created an entire back and compass plate for the adventure vehicle. If the back plate is a point of leverage, you’ll want to use a thicker material such as 14 gauge mild steel. With the Precision TIG 375 Welder, welding the compass plate to the back plate was quick and easy. The Advanced Pulse Control panel moderates filler metal deposition and provides a consistent and smooth bead appearance. If you’re not planning on painting the back plate and keeping the material raw, it’s helpful when the welds look nice and neat.
Once your back plate is complete, the next step will be prepping the hinge for welding with a hand grinder and welding the back plate to the hinge.
Locking it Down
.png)
We took an extra step and fabricated a locking pin system for the back of the Overlander. You can complete this project build on any piece of equipment that needs a little extra security. You’ll want to start off with two 8 inch plates with a single hole. The 8 inch plate will need to be welded to a 3/8 plate and a 3/8 round bar stock will be welded to the end of that. Once you complete the welding, you can bolt the part to the rotating part on the inside of the handle. You’ll need to do this again for the second 8 inch plate. The rounded bar should be able to slip through the existing locking mechanism hole. To fasten it all together, you’ll weld one final plate on the opposite side of the vehicle to keep the rods aligned when locking and unlocking the hatch.
You can create your own roof rack to store any type of equipment. The sky’s the limit! There are endless possibilities for you to create the perfect roof rack and customize your vehicle to fit exactly what you want.
Need some help getting started with a roof rack or back plate? Head on over to FabricationForum.com and download the design files for this project. When your project is complete, share a photo to let us know how your project build went! We’re excited to see what creative designs you come up with.


