Design | Cut | Build – Season 3, Episode 2 – Building Three Unique Stools!
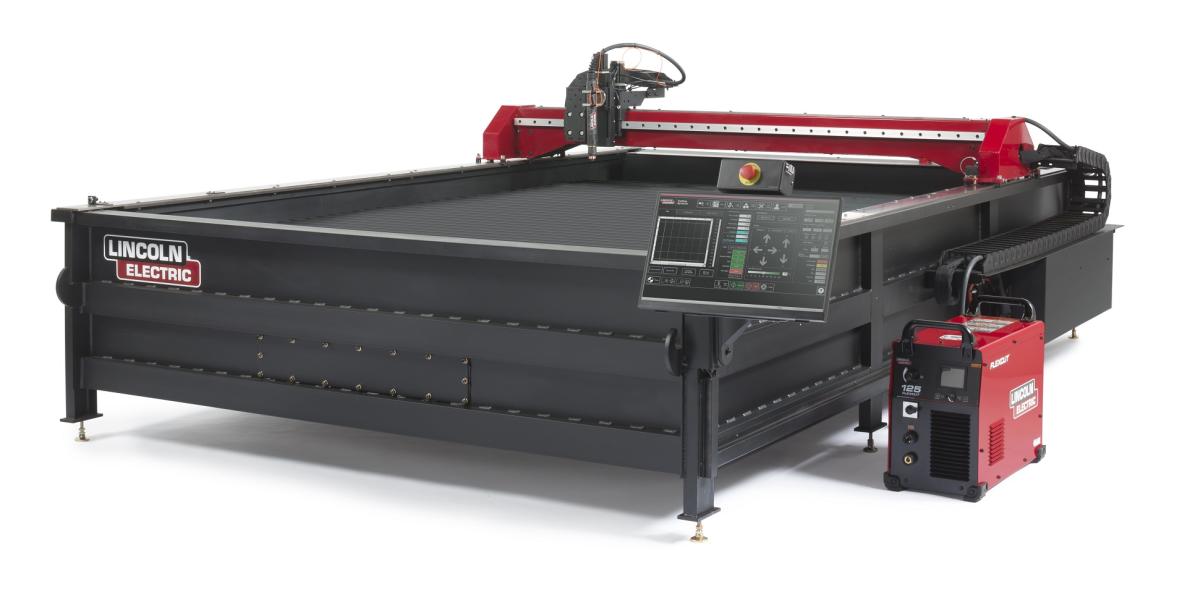
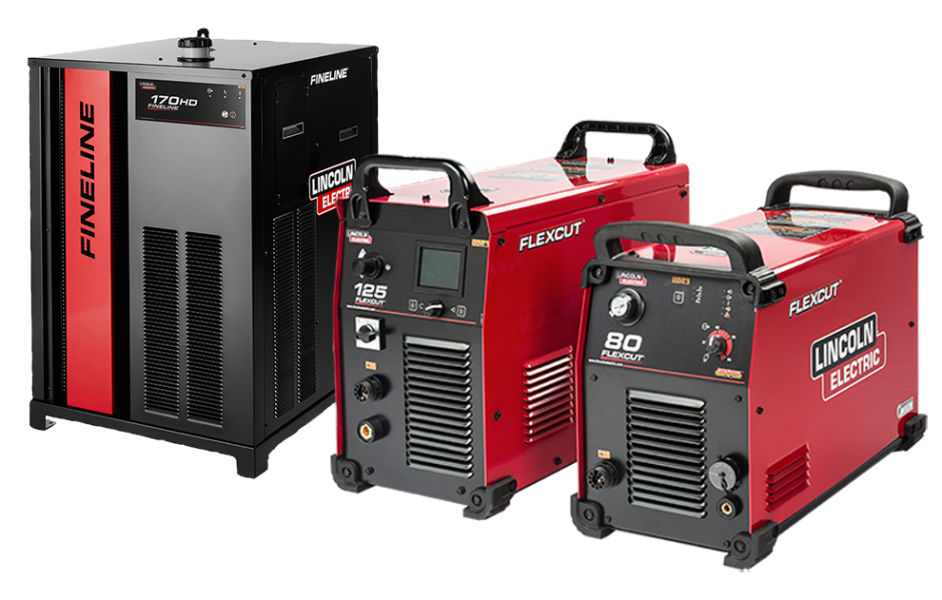
Tired of sitting on boring chairs? Then this project is for you! In this episode, we design a few awesome stools using 11 gauge material and miscellaneous parts around our shop. To cut out the puzzle pieces for our stools on the Torchmate X, we used most of the cut parameters directly from the FlexCut 125 and tailored the speed to the specific jobs to maximize the cut quality.
Maximizing Your Material with Nesting
With Torchmate CAD, you can save time in the design program and space on the material you are cutting. The Nesting feature allows you to cut multiple projects onto a single sheet of material. We were able to cut the parts for our stools, along with parts from our Torchmate Garage Sign in the previous episode. This reduces the overall material wasted by configuring cut parts into the most efficient way possible. With simple adjustments of the Nesting menu settings, you can determine the corner the nest originates from, the direction the build goes, the maximum rotation the software will spin a part to fit, the space from the sheet edge, and the space in-between the parts.
Torchmate has a complete library of videos teaching you exactly how to design the art or parts that you need with Torchmate University, a step by step video guide to Torchmate CAD. The tutorial will show you exactly where to find the nesting menu and how to apply the settings and achieve the most optimal arrangement of parts for your projects.
Piecing the Puzzles Together

After the cuts were complete, you’ll want to use hand grinder to clean and remove any dross on the components. This also helps to create a smooth shiny surface and provides a better welding surface. Once all the parts are clean, it’s time to piece the stools together! The first stool we put together consisted of four tall trapezoids with a built-in panorama. You can essentially use any shapes to create the base of the tool and design the panorama however you’d like. We used the Power Wave C300 Advanced Process Mig Welder to weld the sides of the base together. The constant welding output throughout the entire input voltage range makes it easy to create a sturdy base for the stools.
The second stool requires a little bit more welding. You’ll weld four geometric shapes into a perfect square to create the base. Since this is the bottom piece, be sure to position your parts upside-down to create the protruding geometric shape. Then, go ahead and measure the diagonal length of the two corners to make sure you have a straight shape and repeat the welding process for the next portion of the base. Once you have two separate base pieces, it’s time to weld everything together. The hardest part is making sure everything lines up together. We decided to cut out the letters “D”, “C”, and “B” on our material, but you can cut out any letter or add your logo! To finish it off, place and weld a circular slap of wood to the welded base. The contrast between wood and metal will make your stool stand out from any other pieces of furniture. But make sure the wood is sanded, otherwise you might get splinters in unwanted places.
.JPG)
Instead of taking your old car parts to the junkyard, re-purpose them and make some furniture! If your miscellaneous parts have any rust or debris, you’ll want to clean it off before beginning your project. Using the Precision TIG 375 Welder, we decided to weld an old camshaft to the base of our stool. For a little more flair, a flexplate and three crank arms were welded to the base. For the seat, you can attach a metal piece like a gear and weld more parts to really make this project unique. You can be as innovative and different as you want. There are so many materials and designs you can create to fabricate your own unique stools.
If you’re ready to start creating your own metal sign, head to FabricationForum.com to download the design files for this project. When your project is complete, share a photo to let us know how your project build went!


