Design | Cut | Build – Season 3, Episode 12 – Building an Ornate Steel Mailbox!
Are you tired of checking your standard old mailbox every day for letters and bills? Now you can add a little flair to your front porch or curb! In this episode, we show you how to create your own steel mailbox to show off your fabrication skills around the neighborhood. The first step is researching the US Postal Service requirements for standard curbside mailboxes. It’s important that the project build follows all the rules set in place by USPS. With over twelve pages of regulations, we found that the most important ones were that the dimensions needed to be at least 18.5” x 5” x 6”, no hardware can be sticking out on the inside, and no more than 5 lb. of force is needed to open the door.
Since we were creating this mailbox to only receive mail, we designed our mailbox without a flag for limited service. There are three different types of classifications: Traditional, Contemporary, and Locked. All three classifications can either be full or limited service, depending on if you have a flag. Once you decide what type of mailbox you want to create, it’s time to start cutting!
Types of Mailboxes You Can Create

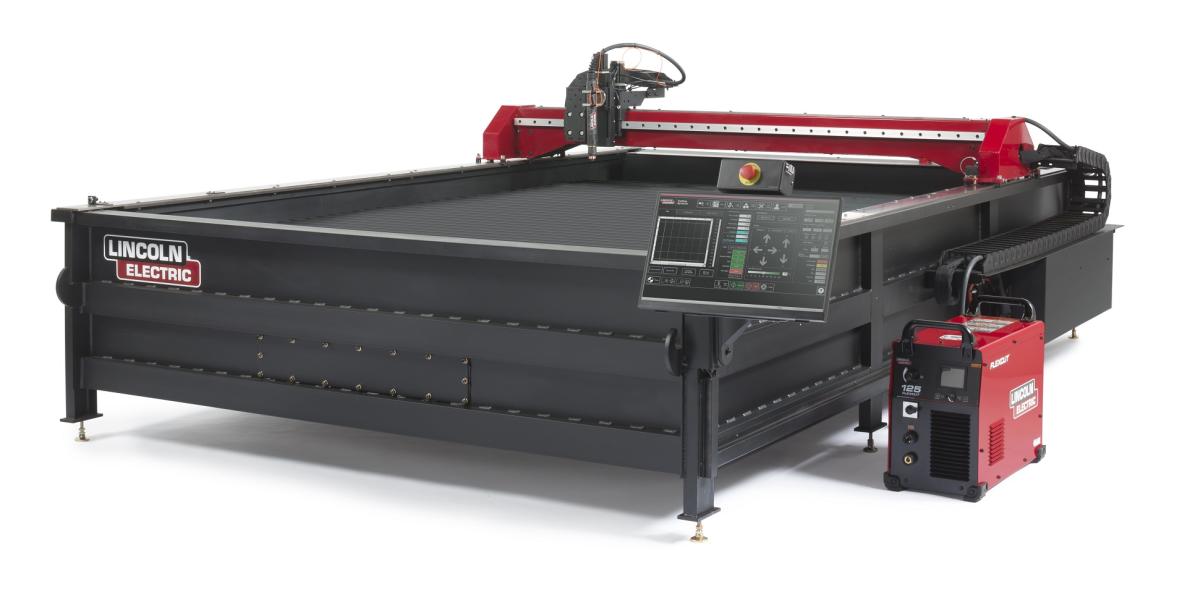
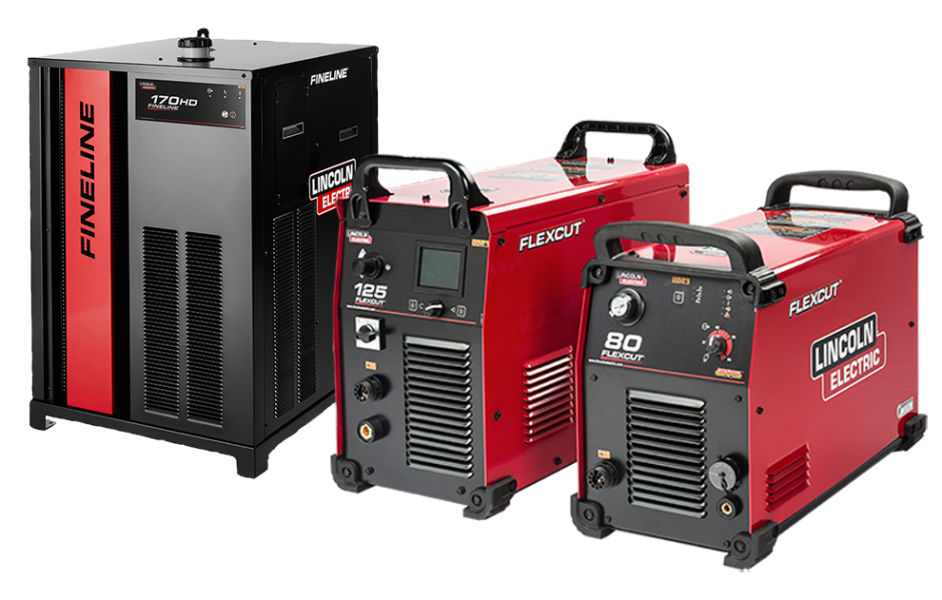
To cut out our first batch of nested parts on 11 gauge Mild Steel, we used our Torchmate 4800 cutting table and FlexCut 80 plasma cutter. The next step was to cut out the shingles for the roof out of 20 gauge stainless steel. The FlexCut 80 and FlexCut 125 makes it really easy to cut Stainless Steel. You can easily hook up a nitrogen tank and cut the stainless material much cleaner than normal compressed air. To hook up a nitrogen tank to your table, attach a high pressure regulator to the tank, add a MPT fitting and hose, unplug the normal compressed air hose and plug in the nitrogen line. To learn more about cutting stainless steel with nitrogen, join the discussion and visit FabricationForum.com.
When cutting on your material, make sure that the Sample Voltage setting is turned on. We noticed that the cut height was too high on the Stainless material and didn’t catch our mistake until halfway through the cut. Unfortunately, since Stainless Steel is such a hard material, there was too much dross to remove for most of the shingles. We decided to recut the file, this time on Mild Steel.
Adding Your Name to Your Mailbox

Once we had the shingles cut and grinded, all that was left was to assemble the mailbox. To create sturdy frame, we tacked up the walls of the mail box and tig welded the shingles together to prevent warping of the shingles. To create the door, you’ll need to tap the holes for the bolts, and tig weld your design on the front. We decided to use our own logo, but you can add your last name or any design to the front. Torchmate University can show you how to create your very own name plate and teach you’re the text tool, breaking a path, and applying a basic weld. Torchmate offers a complete library of videos that will teach you how to operate the Torchmate CAD software. To learn more about creating a name plate, visit Torchmate University.
After all of the shingles have been tacked to the box and the roof is stitched, you’ll need to make a handle for the door. Weld a piece of 3/8” All Thread Rod and a piece of 1” Bar Stock to the table and wrap a piece of 14 gauge Mild Steel around both pieces. Then, drill a hole in the handle and plug weld it to the door. We decided to use an old tire rim for the base of the mailbox and we needed to cut out a bolt ole flange to fit the rim and stich it to the 2” square tubing we used as our pole.
Now that you know how to create your own curbside mailbox, head over to FabricationForum.com to download the cut files for this design. Once your mailbox is complete and ready to go, share some photos so we can see how your project build went!


