Design | Cut | Build – Season 2, Episode 4 – Build a Custom Bench for Your Home or Office!
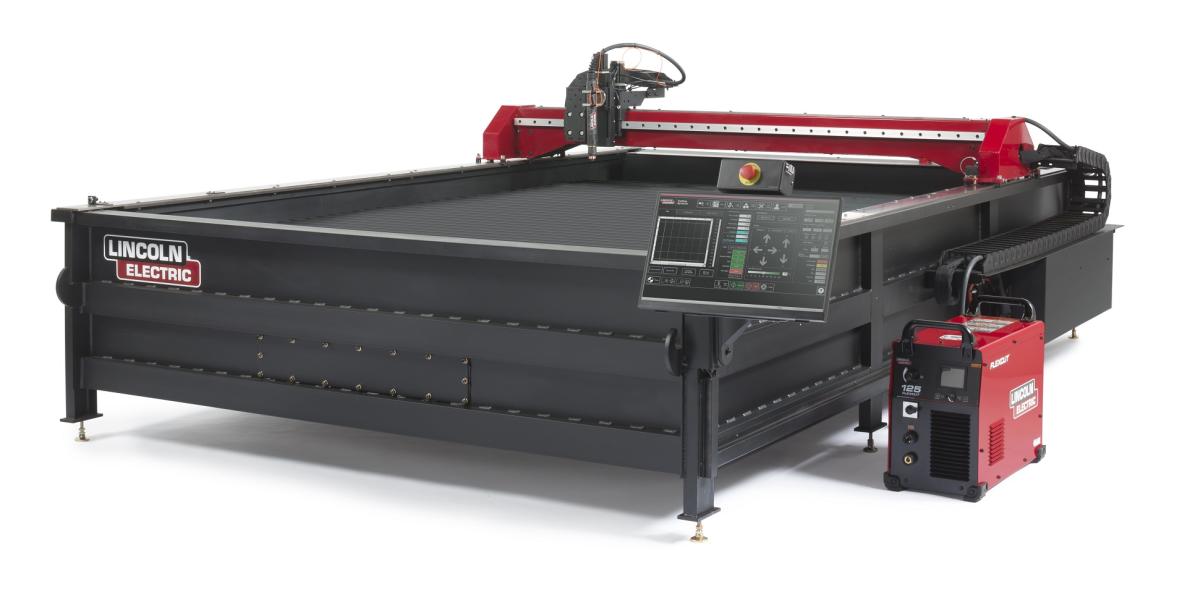
Building a bench from scratch so you or your customers can easily take their steel toe shoes on and off is a great way to show off your design skills. Not to mention, it goes great with the shoe rack that was built in Season 2, Episode 2. With a Torchmate cutting table, a few pieces of 2” square tubing, 3/16” mild steel, paint, and some foam and nylon for cushions, building a custom bench is easy!
Maximize Your Material with Nesting Settings

Nesting is a feature available on Torchmate CAD that lets users save time while designing, and also save material while cutting. Nesting allows users to place smaller parts inside of the cut outs of larger parts, which will reduce the amount of material scrap produced in the end. This feature is useful for customers that make a lot of large and small parts at once, whether for the automotive industry, or for custom projects just like this one. Plus, nesting is easy!
Torchmate University has a complete library of video tutorials available to help you learn more about nesting, and nesting settings, as well as other topics and skills needed to operate Torchmate CAD. The nesting video tutorial also covers the different nesting settings available within the program, such as degrees of rotation and spacing dimensions to accommodate future tool paths and kerf width. Being able to apply the nesting settings correctly will help users achieve the most optimal arrangement of parts.
Ready, Set, Weld!

Once all the pieces have been nested in Torchmate CAD and cut out using a Torchmate table, they are ready to be welded together. In this episode, a Lincoln Electric PowerMig 256 was used to tack weld the bench together to make sure everything aligned properly. When everything checked out, the bench could then be welded together and sent to the paint booth. Lincoln Electric’s primary logo colors were used on the sides of the bench to make it stand out in the shop, and to give it a nice pop of color. The seat cushions were made using black nylon fabric and pieces of 2” thick memory foam stapled to some plywood to help mount it on to the bench. Make sure the back piece of plywood is ½” shorter than the bottom piece, since it will have to stack on top of the base cushion.
If you’re ready to create your own bench for your house or business, head to FabricationForum.com. There, you can find all of the design files and a list of materials used in this episode. When you’re done building, share a photo of your project to show it off to the rest of the community, and make sure to let us know how your build went!


