Design | Cut | Build – Season 2, Episode 2 – Make a Shoe Rack for Your Home or Business!
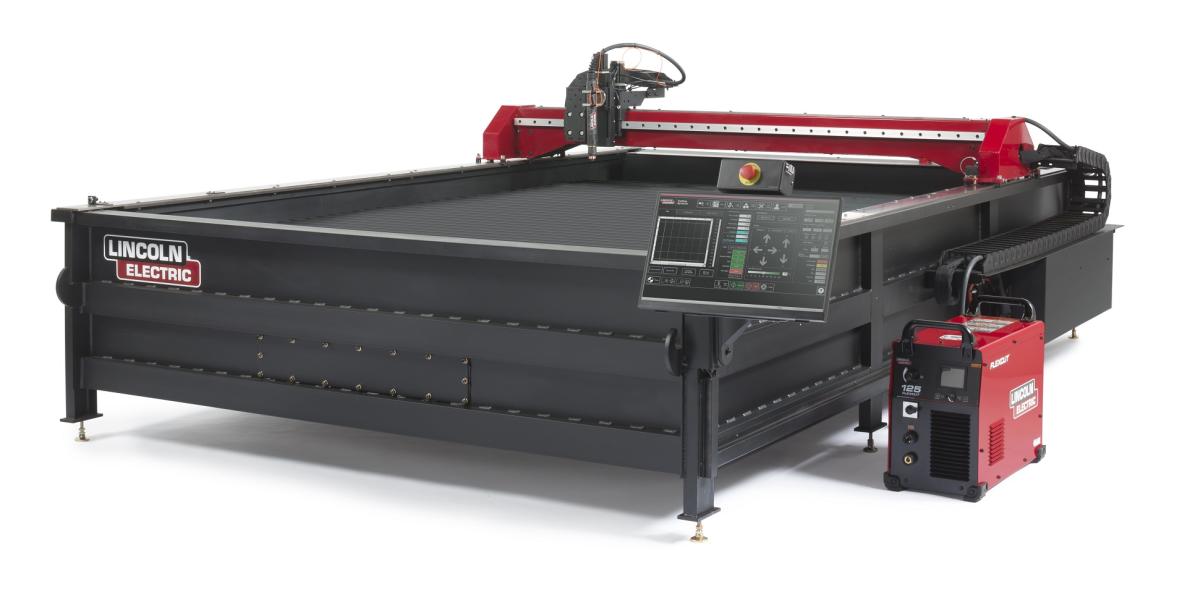
A collapsible shoe rack that you made yourself is not only a great way to keep organized, but is also great at showcasing your design skills! In this episode we will show you how to make your own shoe rack that starts out as a simple sketch on graph paper, and turns into a functional statement piece for your home or business. With just a few nuts, bolts, a Torchmate cutting table, and some 3/16” mild steel, you’ll be on your way to making your own shoe rack in no time!
Utilize the Custom Parts Library to Save On Design Time

Torchmate CAD features a custom parts library with more than 90 parts that can all be programmed to fit your unique designs. The parts range from simple rectangles to complex pulleys and lifted arc trapezoids. The custom parts library also allows users to duplicate the part and array it on the sheet of material. This is handy for when you need to cut out more than just one part – which almost everyone does! Simply program the spacing between each part and tell the program how many parts you need. This lets you save on design time and get back to production as quickly as possible!
The custom parts library can be a powerful tool in the workplace, and a nearly infinite amount of parts can come from this library. Torchmate University has a complete library of video tutorials to help you learn more about the custom parts library, as well as other topics and skills. It can also help you learn how to combine the custom parts library with the 28 parts that are already programmed into the VMD user interface of the machine.
Get Ready to Assemble!
.jpg)
When you’re done designing, all of your pieces can be cut out with a Torchmate table. With dialed in cut parameters, there should be very little dross on the back of the parts. Any dross that does remain can be easily removed with a grinder. With all the parts prepped, assembly can begin! Start by using the nuts and bolts to hold the sides of the shoe rack together. Originally, the shoe rack was designed to be collapsible, but it was decided that it was too hard to collapse it with just one person, and the rack could stay open all the time. Once the sides have been built, they can be welded on to the flat pieces of material designed to hold the shoes. A Lincoln Electric PowerMig 210 MP was used in this episode to make all of the welds to hold the shoe rack together. With everything assembled, the shoe rack is ready for a coat of paint!
When you’re ready to create your own custom shoe rack, head over to FabricationForum.com. There you can find all of the design files and a list of materials used in this episode. When you’re done building your own custom shoe rack, share of photo of it to showcase it to the rest of the community. And make sure to let us know how your build went!


