Design | Cut | Build – Season 1, Episode 8 – Build Your Own Fire Pit with a Custom Design!
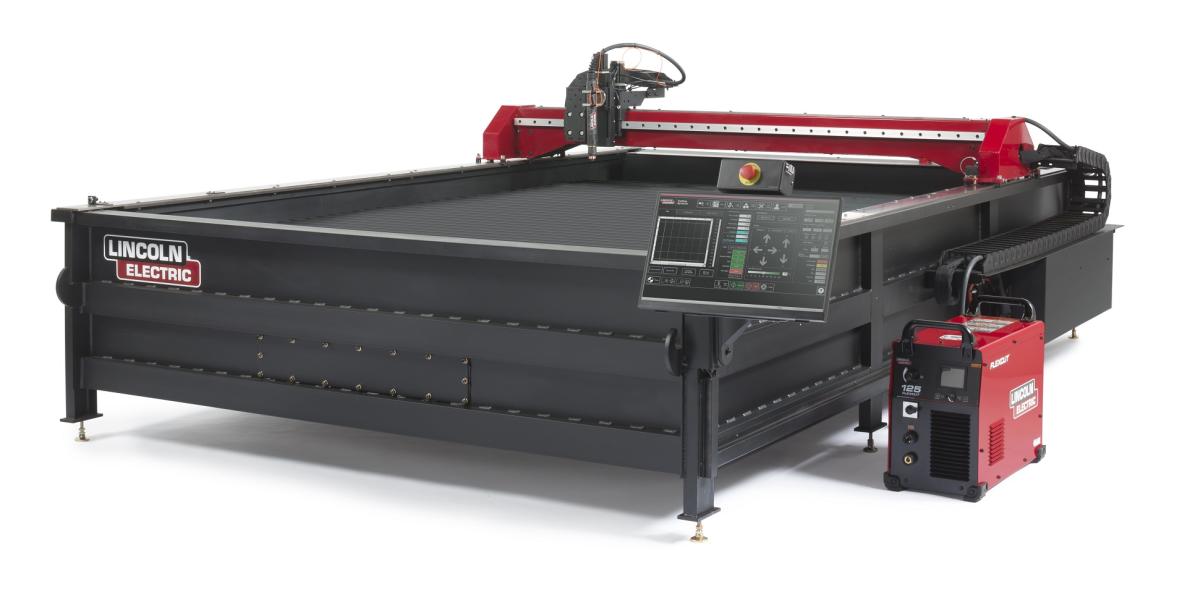
A great way to showcase your design and welding capabilities is to build your own fire pit. The number of design possibilities are endless! In this episode, we will show you how to make a fire pit with different geometric shapes to highlight the shadows coming off of the fire. We used one 4’ x 8’ sheet of 11 gauge material, high temperature paint, an angle grinder, a Torchmate cutting table, and a Lincoln Electric PowerMig 210 MP Multiprocess welder to make the fire pits.
Utilize Weld Tools in Torchmate CAD to Make Intricate Designs

Torchmate CAD allows users to easily fuse or separate shapes that have been previously drawn in the cutting area. Not only does this feature make intricate designs, but can also showcase your creativity. The possibilities are endless! There are three different welding tools available within Torchmate CAD; the basic weld, the XOR weld, and the AND weld. The basic weld tool is the most popular, and lets you easily fuse designs together or create intricate cut outs.
The weld tools are essential when using Torchmate CAD, and can help you save time when designing. Torchmate University has a full library of video tutorials available to help you learn more about the different weld tools available, and how to start thinking about your designs as a combination of dropped and combined shapes rather than having to free hand the entire design with the pencil tool.
Get Ready to Light a Fire!

Once your design is ready, it can be cut out with a Torchmate table. In this episode, we had over 500 pierces to create our fire pit! With everything cut out, use a grinder to smooth down the edges before welding everything together. A Lincoln Electric PowerMig 210 MP Multiprocess Welder was used in this episode. Tack welds were used to first hold the pieces together to make sure everything fit properly, and then 1” stitch welds were placed on the insides to make the fire pit strong and durable. Once the frame of the fire pit was welded together, the inside tray that holds the wood and ashes can then be assembled, and tack welded in to the fire pit to make sure it fits correctly. Once the fit has been verified, it can be placed in permanently using 1” welds. Once everything is welded together and sturdy, the fire pit is ready to be painted. In this episode, we used black spray paint that was rated to 1500 degrees to coat the fire pit inside and out.
When you’re ready to create your own custom fire pit design, head over to FabricationForum.com. You can find all of the design files and a list of materials used in this episode there. Once you’re done building, share a photo of your project to showcase it to the rest of the community, and let us know how your build went!


