Design | Cut | Build – Season 1, Episode 5 – Create a Map of America with Metal Art
Metal art is a great way to show off your cutting and design skills! This episode will show you how to create a map of the United States of America using a sheet of 11 gauge material, the plate marking attachment for the 4x00 series tables, wood for the base, and some white acrylic for the stars.
Add Creativity to Your Shop with the Plate Marking Attachment
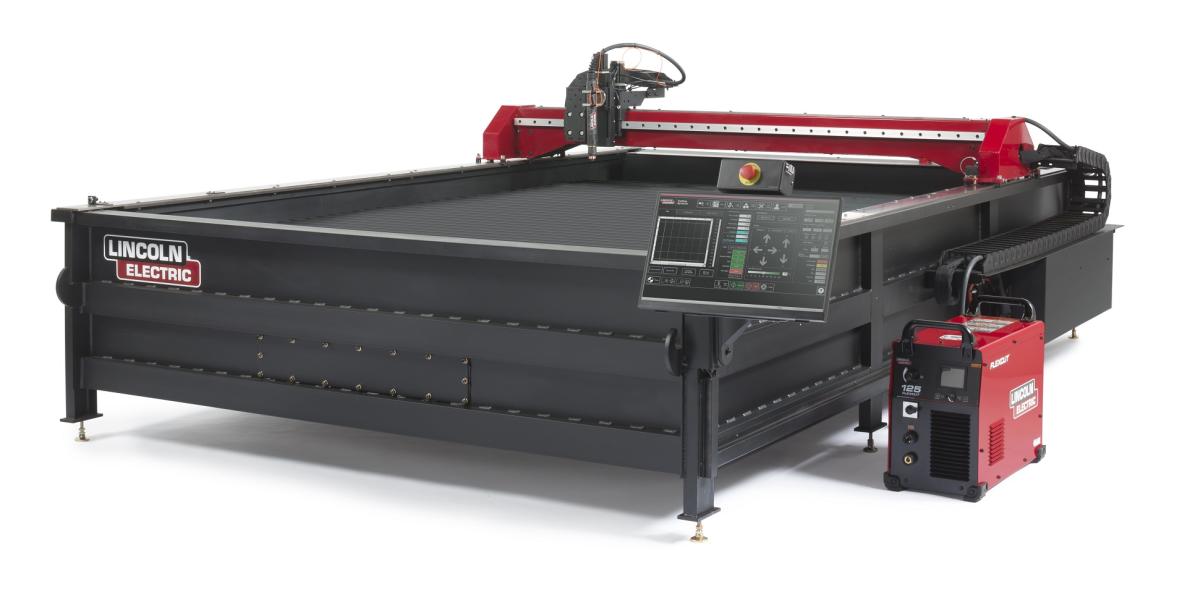
Torchmate CAD also makes it easy to utilize multiple tools while creating your designs. While creating your design, simply add an online toolpath for the plate marker, and a male tool path with a lead in for the plasma. In this episode, the design was split into two separate tool paths; the first used the plate marker to outline the individual states, and the second one used plasma to cut out the perimeter, including Alaska and Hawaii. To create the stars, a female tool path was used.Adding the plate marking attachment to your Torchmate cutting table gives you even more design possibilities. Whether you need to add part numbers, or intricate detailing to what you’re cutting, it’s all possible with the plate marker. This accessory is easy to install onto your table, and comes with an in-depth guide so you can do it yourself. The plate marking attachment is designed to be able to handle uneven plate, and the fully pneumatic system lowers the pen down to the material smoothly, to avoid causing the plate to move while marking.
Torchmate University has a complete library of walk-throughs and tutorials available to help you learn more about programming multiple tool paths so you can get the most out of your plate marking attachment, and your Torchmate table!
Get Ready to Cut!

Now that your design is ready and has all of the different tool paths you created, it can be cut out! In this episode, the design was cut out on 11 gauge mild steel, making it sturdy enough to engrave with the plate marker, but also thin and light enough to use as wall art. Once the map of the states was cut out, a grinder was used to remove any dross on the front and back, and three 3” x 3/16” bolts were tack welded onto the back of the sign using a PowerMig 210 MP so the sign could easily be mounted onto a stained wooden background for added flair.
With the sign cut out, it can now be painted. You can use any color scheme you’d like, but for this particular project we decided to stick with traditional red, white, and blue. The painting element of this project was the most time consuming because each color required an entire day to dry. The stripes were painted using 36 mm painting tape, and the white background behind the stars was made by cutting out the outline of the map on white acrylic. The base for the sign was made with 12 pieces of 1” x 4” pine that was stained to give it added detail. The pieces of wood were also staggered to match the general outline of the states for a more dynamic appeal.
When you’re ready to create your own custom sign work for your home or business, head over to FabricationForum.com to download the design files used in this episode. When you’re done building, share a photo of your project to showcase it to the rest of the community, and tell us how your build went!


