Design | Cut | Build – Season 1, Episode 4 – Make Your Own Wine Barrel Table
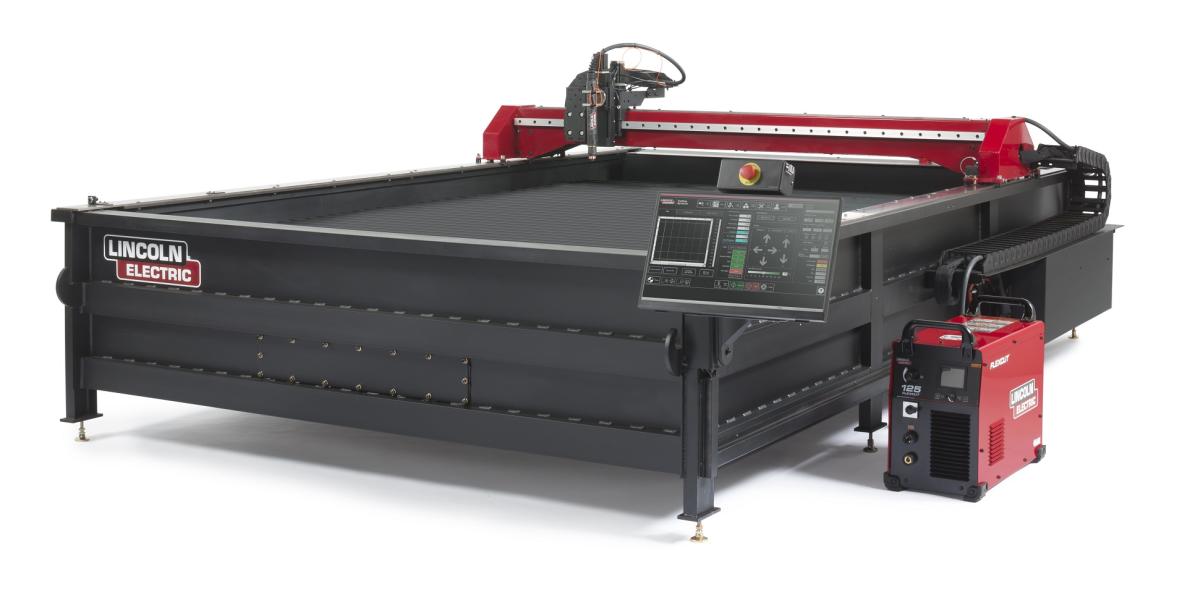
Making your own statement piece that also functions as a table is a great way to advertise your business, and highlight your skills. In this episode we will be showing you how to turn an old wine barrel into a table complete with metal art and LED lights to make it really stand out. With just one sheet of plywood, a few pine boards, a sheet of 3/16” mild steel, glass, and a Torchmate cutting table, you can build your own!
Create Intricate Artwork Designs Using Torchmate CAD

Importing clip art into Torchmate CAD is one of the easiest and best ways to make artwork for customers, and for yourself! The design in this episode ended up using 22 different pieces of clip art grouped together. Torchmate CAD makes it possible to create intricate works of art by importing multiple different clip art files into one design. Creating toolpaths so that you can cut out your design could get tricky. Torchmate University has several different videos on how to create male and female toolpaths, as well as online toolpaths, which are used when lead ins and lead outs are not possible to use with your design. In this episode, a lot of the more intricate details in the table top required the use of online toolpaths features instead of shape features since a lot of the lines were too thin to use regular male/female toolpaths.
With such an intricate design on the top of the table, using the node editing ability in Torchmate CAD will be incredibly helpful to get your design just right. Node editing allows you to not only simplify your g-code to help the stepper motors maintain a fluid motion while cutting, but will also help you create custom designs for you and your customers. Visit Torchmate University for an in-depth tutorial on node editing.
Get Ready to Build!

Once your design has been created, it is finally ready to be cut out with your Torchmate cutting table. In this episode, the design was cut out on a sheet of 48” x 48” 3/16” material. A circle was also created so LED lights could be placed inside of the table for added customization. With all the material cut out, the wood can also be cut to size and the outside flamed with a propane torch to give it an additional flair.
Once everything has been cut to size and sanded down, you can finally start building your custom Wine Barrel Table. First, the metal design can be glued onto the wood base. Then, some brackets will need to be cut out to help support the weight of the table top on the barrel. Luckily, the parts library in the visual machine designer software had some pre-existing brackets that could be cut out without having to spend a lot of time thinking about design. Once the brackets have been cut out, they can be welded onto the top of the wine barrel. In this episode, a PowerMig 210 MP was used to weld the brackets onto the top of the barrel. With the table almost complete, the LED lights can then be placed inside and stapled to the top inside ring of the wine barrel. The wires of the light were fed through the bung for easy access.
When you’re ready to create your own wine barrel table, head to FabricationForum.com to download the design files. Once you’re done building, share a photo of your project to show it off to the rest of the community, and let us know how the build went!


