Design | Cut | Build – Season 1, Episode 2 – Create Your Own Welding Table from Scratch!
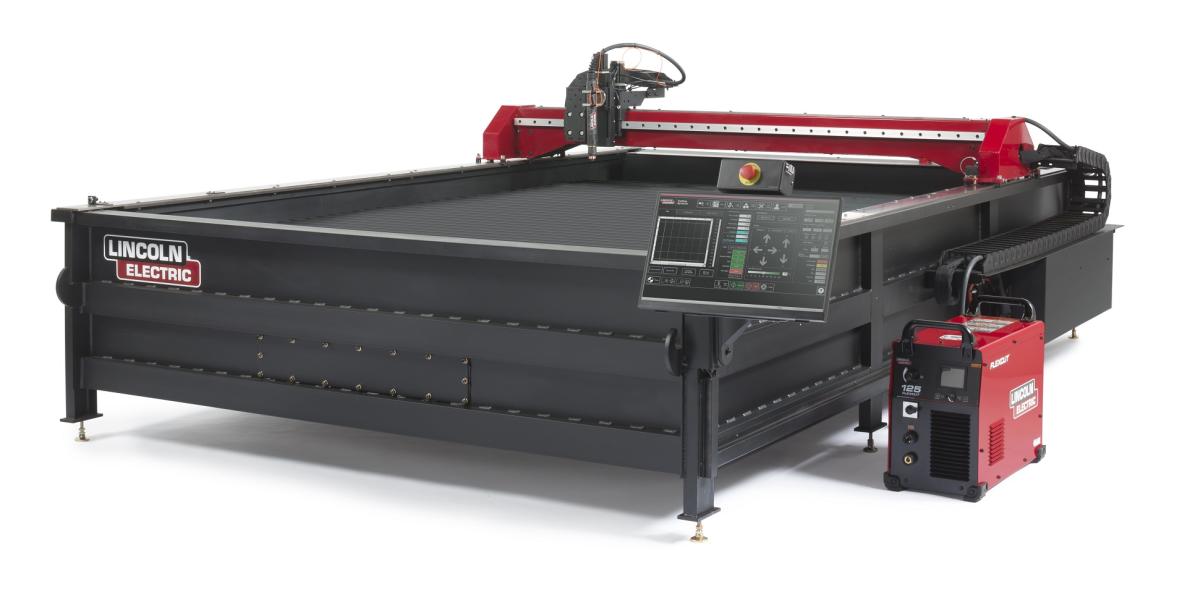
The best way to get a fully custom welding table is to design and build it yourself! This episode will teach you how to create your own welding tables using a Torchmate cutting table, 3/8” and 3/16” mild steel, 2” square tubing, and 4” casters to make your table mobile.
Customize Your Table Design to Maximize Your Shop and Work Space

Using Torchmate CAD lets you fully customize your own design to best fit your needs. Whether you have limited shop space, or a lot of tools to fit on your welding cart, it’s all possible with Torchmate CAD. The Torchmate CAD software has a nesting feature, allowing you to fit more parts onto fewer sheets of material. Nesting will tightly fit parts into place onto a sheet size of your choice based on the parameters you enter in to the software. This Torchmate CAD feature also lets you easily specify how many of each part you will need prior cutting to make the nesting process as easy as possible.
There is a complete resource library of videos available through Torchmate University that can teach you more about cutting precision parts and nesting settings.
Use Plasma Marking To Get the Most Out Of Your Designs and Your Table

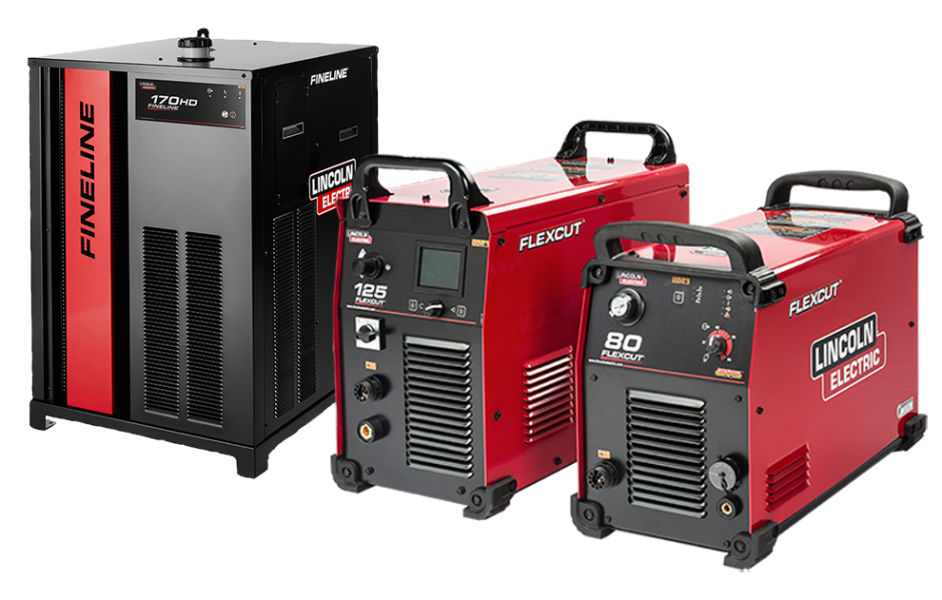
The plasma marking feature found on the FlexCut 125 grants you the power to add new detail to your creations. From part numbers to grids with common fabricating angles to help you save time while welding, this feature will help you add value to all that you do. Plasma marking can create deep enough lines so you can grind parts on the table without also grinding down the grid lines, but are shallow enough so they won’t snag any material you are working with. Reference the cut charts in your plasma cutter manual to make sure your amperage is set correctly on your FlexCut 125, and you’ll be ready to cut and plasma mark on a Torchmate cutting table!
Get Ready to Weld!
Once all of your parts have been cut out, it’s time to weld them all together and finish up your welding table. In this video, we use the Lincoln Electric PowerMIG 210MP, and the PowerWave C300 Advanced Multiprocess Welder. These multi process welders are great in a variety of settings, from home welding to production welding. Start by setting the correct settings on your welder, then get to work welding together the frame of the table.
Once the frame is complete, the pieces cut out using the Torchmate table can be welded on. You can place your grinder holders and air tanks where they are the most convenient for you. With the combo of Lincoln Electric welders and Torchmate plasma tables, you’ll have custom welding tables for your shop or garage in no time!
When you’re ready to get the design files for your own welding table, head to FabricationForum.com to download them. Once your project is complete, share a photo to let us know how your project build went!


