Design | Cut | Build – Season 3, Episode 6 – Building a Hitch Wagon!
What’s better than a good wagon? A Bad Wagon. In this episode, we show you how to use 11 and 14 gauge Expanded Mild steel to create the ultimate hitch wagon to end all other wagons. Start out with a sketch of what you want your wagon to look like. Make sure the measurements are properly calculated, you don’t want to block any doors or tail lights and risk getting pulled over while towing your new wagon!
Creating Exactly What You Need with Torchmate CAD
.jpg)
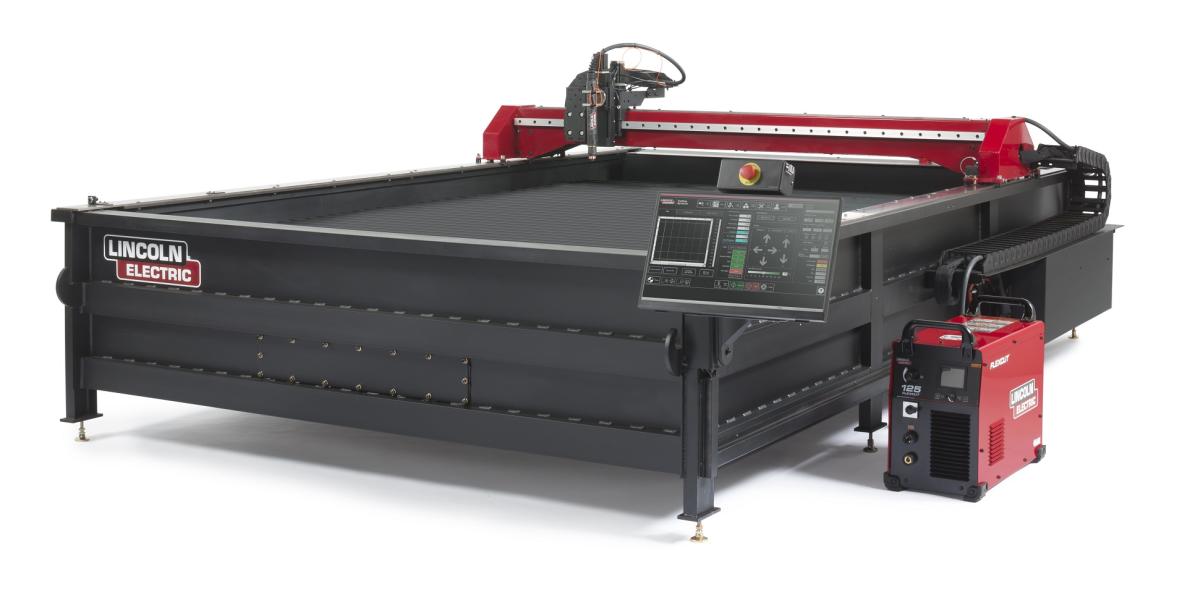
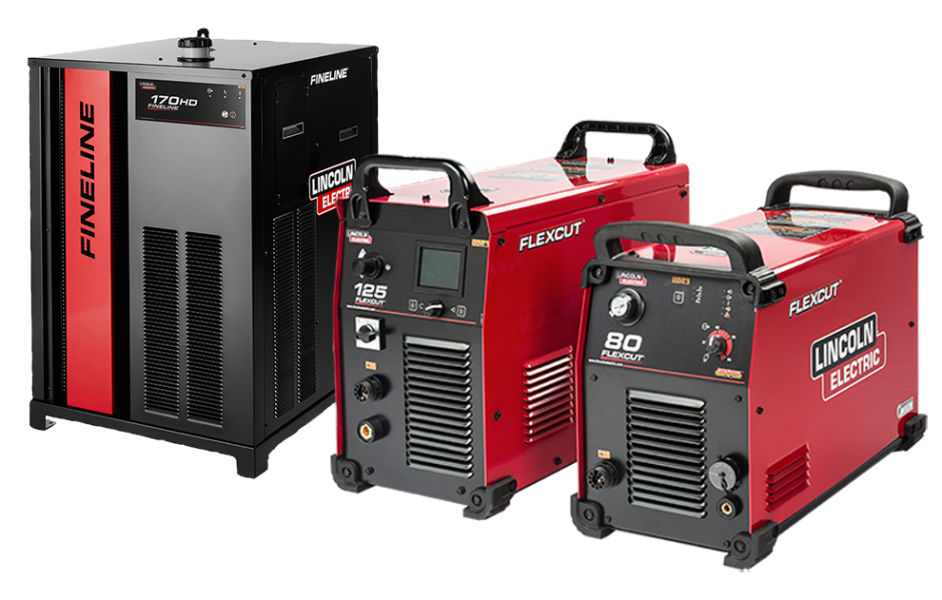
Using Torchmate CAD, you can design end caps for the pipes from dimension drawings. You can create precision parts with two tools, the shape tool or by editing the nodes that make up the part. This will prevent any moisture from entering the wagon and rusting it from the inside out. We cut out the square end caps using the Torchmate 4400 cutting machine and FlexCut 80 plasma cutter. Tack welding two sides of the pipe will allow you to complete a seam weld around the entire end cap. The clean weld will surely lock out any moisture and keep your hitch wagon from rusting or retaining moisture. Torchmate has a complete library of videos teaching you exactly how to design the art or parts that you need with Torchmate University, a step by step video guide to Torchmate CAD.
To connect the wagon to an SUV or your vehicle, you’ll want to use a two inch receiver for stability. Drilling a hole into the receiver will allow you to pin it into the hitch cover and keep it in place while moving. Be sure to check that the hole is drilled into the right spot before moving on. The last thing we want is for the wagon to come lose while you’re driving. For the rest of the wagon body, one inch square tubing will provide a sturdy bottom frame for the wagon and keep it as light-weight as possible.
Changing Your Consumables for Great Cut Quality

During our project build, we discovered that our cut quality wasn’t exactly what we were looking for. If you experience issues with your cut quality and the cut parameters are accurate, it may be time to change out your consumables on your Torchmate cutting machine. Making sure that the consumables are installed correctly and are changed out in a timely manner, can maintain great cut quality. Torchmate University also offers a video series dedicated to Technical Support and operating your CNC cutting table. For more information, please visit the CNC Tutorials page.
Before tacking the frame together, you’ll need to measure the angles on the wagon and make sure they are 90 degree angles. It’s important to confirm that the wagon frame is straight and perfectly aligned. The last steps include welding the nameplate, welding the wheels, and adding the handles. Once the final touches are mounted and ready to go, you’ll have your very own wagon to attach onto your hitch. If you’re ready to build your own hitch wagon, visit FabricationForum.com to download the design files for this project. Once you have your wagon loaded up, share a photo so we can see how it went!


