Design | Cut | Build – Season 3, Episode 10 – Building a Rum Bottle Display!
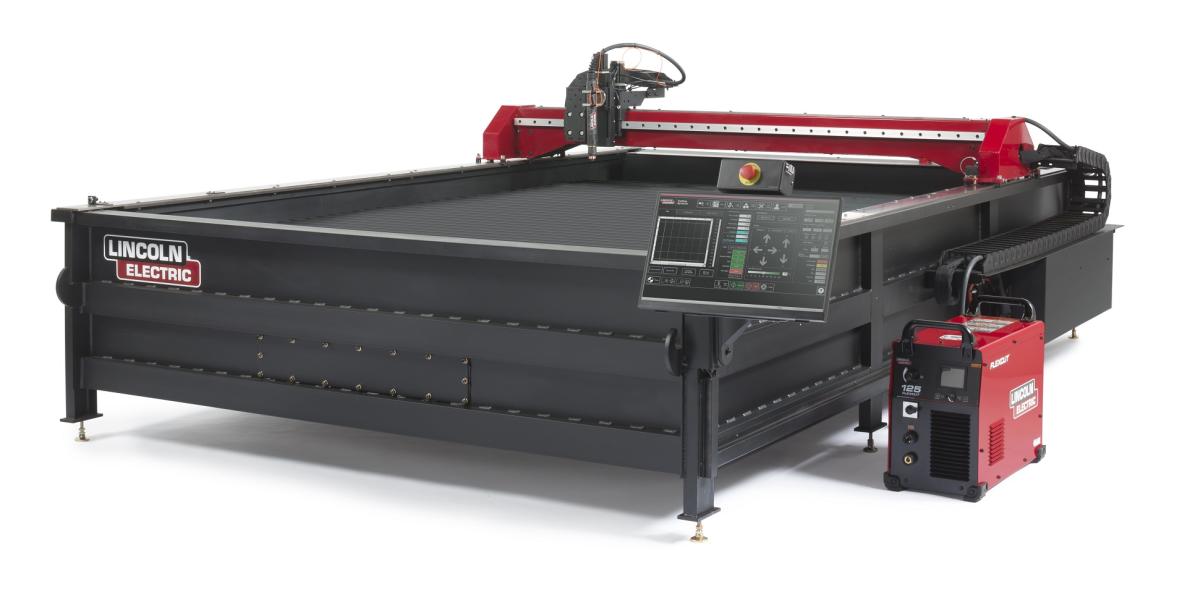
What’s better than having some nice bottles of alcohol? Being able to show them off! In this episode we show you how to build your very own bottle display with a stand and how to customize it with your name or logo. With some pieces of scrap pipe, 11 gauge metal sheets, the Torchmate 4800 cutting table and POWER MIG 210 MP, you can easily create and customize your own bottle display.
With any new Torchmate machine, it’s extremely important to calibrate the table before running your first job. The first step is piercing a hole with the plasma cutter, then manually bring the plate marker over the same hole that was just pierced. Make sure to Set Program Zero before pressing the Set Offset button on the tool control panel. Setting the Offset tells your machine how far away the additional tool, like the plate marker, is from the torch. For more information on setting up your machine, visit Torchmate University. Torchmate offers a video series dedicated to Technical Support and operating your CNC cutting table for the first time, or performing basic maintenance to keep your machine running like new. For more information, please visit the CNC Tutorials page.

Building the Bottle Box
To create the top of the bottle stand box, we used 11 gauge Mild Steel. This material provides a sturdy frame without being too heavy, so you can easily move the display from one party to the next. Keep in mind that when you plate mark your logo or name, the material may come out perfectly straight. When using the plate marking tool, the added stress or release of stress can product a bowing effect within the fine grains of the material you are cutting on.
If your material comes out a bit bowed, it may be helpful to weld the parts together in stages and constantly make sure the material is straight and level. To weld the bottle display box together and create the bottom frame for the box stand, we used a POWER MIG 210 MP. The portability and dual voltage inputs of the multi-process welder, makes it easy to take anywhere you need to weld. With this single machine, you can also do MIG, stick, TIG and flux-cored welding. The all-metal wire drive and sturdy sheet metal construction makes this welder ready for any job.
Deciding How to Display

Once the frame is ready to go, you can then decide how to display your bottles with pieces of pipe. To lean the bottles back, you may need to cut out the back of the frame to rest the pipes on. If you don’t want the bottles to be completely angled, cut a rubber mat to the size of the frame and use the pipes to hold the mat in place. This will provide a slight upwards angle for the bottles to be displayed while holding down the rubber mat. If you’ll be putting your bottle display on a bar or flat surface, then you’re all done! However, if you want to have the display standing on its own, there’s just a few more steps you’ll need to do. We had a custom tiki stump handy and decided to make our stand from that.
If you have any scrap metal or any tall sturdy works of art, you can turn that into the bottle display stand. The first step to making a stand is to create the base. We designed a hexagonal base using Torchmate CAD and attached the tiki stump using wood screws. To mount the display box, you’ll need to create and attach a secondary pan to the top of the stand. Once you have your secondary pan ready, you’ll need to tack bolts to the bottom of the display box and fasten it to the pan. When you have everything tightened together, you’re ready to show it off!
If you’re ready to build a custom bottle display for your next party or as an accent piece for your home, visit FabricationForum.com to download the design files and talk to other members about their ideas. Fabrication Forum is a great way to meet and collaborate with other welders and hobbyists. When your project is complete, upload a photo and let us know how your project build went!


