Design | Cut | Build – Season 3, Episode 1 – Building a Garage Sign for our Torchmate Garage!
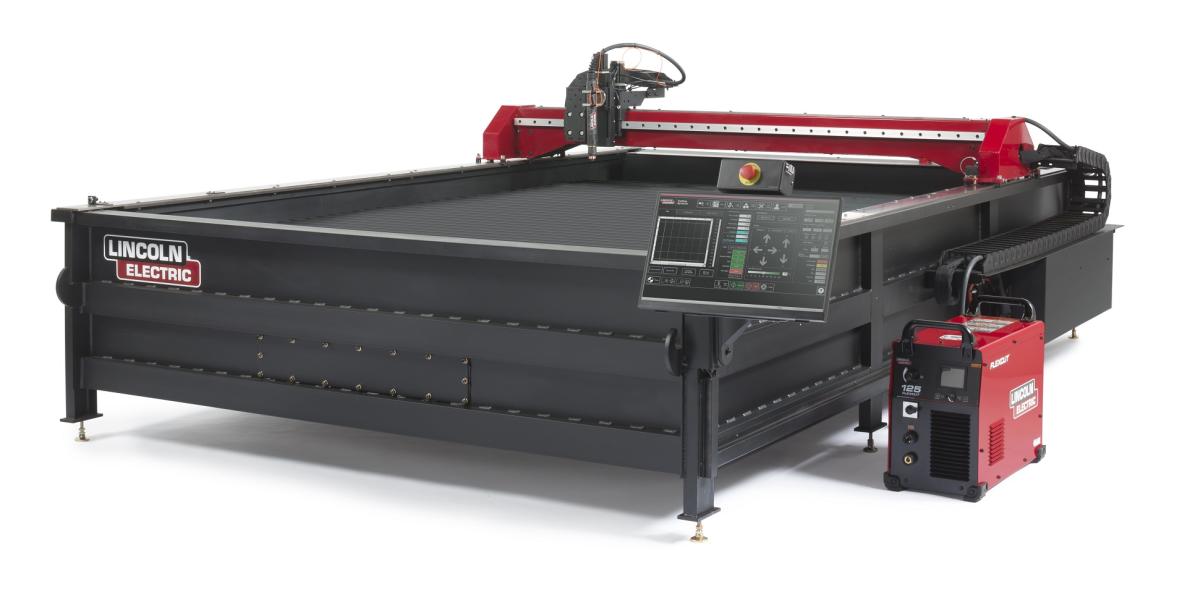
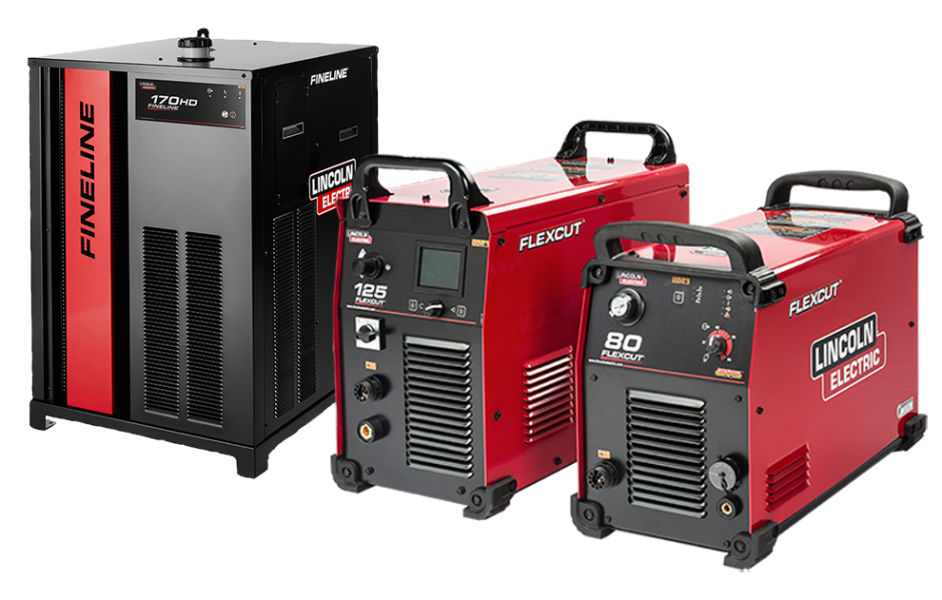
We kick off season 3 with a brand new host! Aaron Hagar from Rat Runner’s Garage is teaming up with Iggy Cendejas to fabricate a sleek metal sign for our new Torchmate Garage. In this episode, we are creating a multi-dimensional sign out of 11 gauge mild steel using our Torchmate X cutting table and FlexCut 125 plasma power supply. We made this sign for our garage, but you can add your own logo and letters to make any type of sign for your own workshop, business, or even for home!
Fabricate Any Photo or Image with Torchmate CAD
With Torchmate CAD, the design possibilities are endless. You can upload an image of your logo or any photo and the Torchmate CAD software will automatically determine whether to use the built-in Scan and Trace Wizard or Vectorization tool to develop the most vivid image for cutting. Color images or images with similar colors work best with the Scan and Trace Wizard. For images that have a higher contrast, the Vectorization tool is the most efficient way to compensate the line between light and dark. You can use any silhouette image or any full colored image to design to cut the ultimate metal masterpiece and the Torchmate CAD software will take care of creating the perfect cutting file for your projects.
Torchmate has a complete library of videos teaching you exactly how to design the art or parts that you need with Torchmate University, a step by step video guide to Torchmate CAD.

Creating the 3D Effect
Once the parts are cut and cleaned, it’s time to assemble the sign! The first step is placing the letters on the back plate and marking exactly where we will weld. Welding with precision is crucial to making sure all of the metal letters and parts are properly aligned and will fit perfectly in place.
To achieve the three-dimensional effect, you’ll need to create standoffs to make sure your sign pops off the wall. We used 3 different heights for each level of the sign and had to get creative with a band saw and grinder to get the exact standoff dimensions we wanted. With the standoffs ready for tacking, it’s time to weld it all together! For our welds, we used our Precision TIG 375 Welder with 3/32” Tungsten.

The cutting capabilities of the Torchmate X combined with the simplicity, control, and range of the Precision TIG 375, provides the most precise technology for thicker materials and heavier jobs. The adjustable water height on the X table cools down your parts and reduces the downtime for your projects.
After tacking the standoffs to the letters, the most important part is making sure the standoffs line up with the holes on the back plate. It took us a few tries to make sure all the letters were straight and fit perfectly, but the extra effort was worth it. We chose to paint the letters on our sign at the end, but it’s completely up to you if you want to display the original metal or if you want to get even more creative!
If you’re ready to start creating your own metal sign, head to FabricationForum.com to download the design files for this project. When your project is complete, share a photo to let us know how your project build went!


