Design | Cut | Build – Season 2, Episode 6 – Designing a Custom Sign for a Local Business
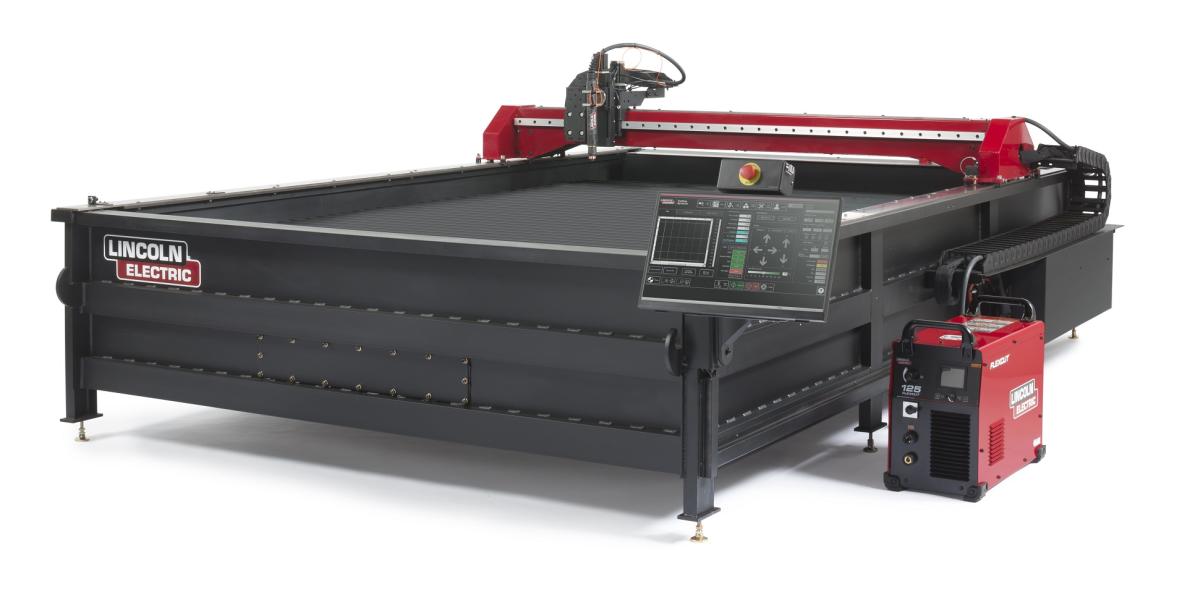
One of the most popular ways to use a Torchmate table is to make custom metal art and signs. It’s a great way to show off your design skills and also advertise for your business, and others! In this episode, we will show you how to create custom metal artwork featuring a company’s logo with a Torchmate cutting table, some material of your choice, and a little paint.
Use the Scan and Trace Wizard to Cut Out Custom Made Logos and Designs

Torchmate CAD makes it easy to import pre-existing designs to be cut out with the Scan and Trace Wizard. Metal sign work is even easier – just ask the company for their logo and get to work designing! For more complicated designs and logos, the node editing feature of Torchmate CAD can also be utilized. The sign in this video features the name of the business raised above the rest of the logo by about 2 inches. To make this possible, the text of the restaurant’s name was broken apart from the rest of the logo, and the pieces were cut separately. Even though this requires more material, the design will really stand out and be worth it in the end.
Although node editing and the scan and trace wizard are somewhat more advanced techniques, Torchmate University makes learning them easy! With a full library of video tutorials available online that cover several topics from node editing, to importing DXF files and using the Scan and Trace Wizard, you’ll be getting the most out of your table and software in no time.
Ready, Set, Customize!

Once your design is all ready to go in Torchmate CAD, it can finally be cut out using a Torchmate table. Depending on how you designed the file, and how big the sign is going to be, several sheets of material may be required. When the design is done being cut out, smooth down any rough edges and remove any dross with a grinder. Because the text of the logo was raised off of the rest of the design in this episode, it was welded onto a piece of 2 inch tubing to help offset the design. With the sign now fully assembled, it is ready for some paint, and then ready for install.
When you’re ready to create your own custom sign work or metal art, head over to FabricationForum.com to see pictures of the finished product, and ask questions if you have them! There are no design files provided for this particular project since it was a custom design for a local business, but make sure to check out the other projects and discussions on the forum. If you decide to make any of the projects on your own, make sure to upload a picture to showcase it to the rest of the community, and let us know how your build went!


