Design | Cut | Build – Season 2, Episode 5 – Designing the Ultimate Welding Cart!
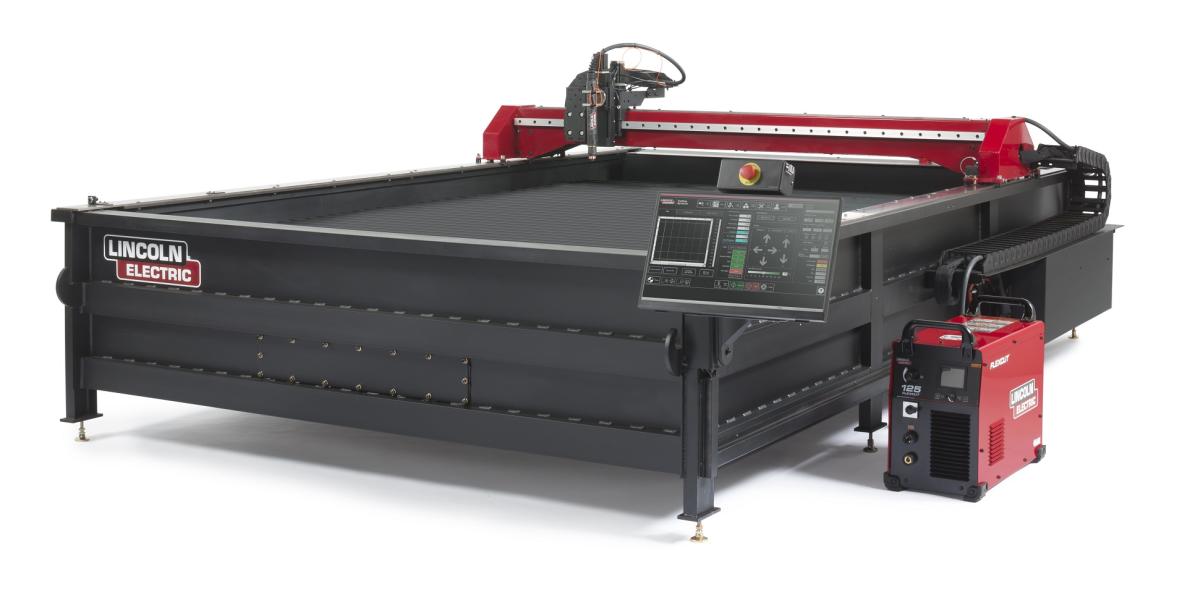
There’s no better way to store and transport all of your welding equipment than by building your own customized welding cart. The cart can be customized to your specific needs, and you can make sure all of your equipment is within easy reach. In this episode, we will show you how to design and weld together a welding table of your own with a Torchmate cutting table, some 3/8” mild steel, casters and paint.
Use Torchmate CAD to Make Your Parts Precise

Making precision parts with specific measurements often takes a lot of time, planning, and calculation. But Torchmate CAD makes it easy for everyone! Users can take one of two approaches to make their precision parts, or use a combination of the two. By using shapes and weld tools, or taking a detailed node editing approach makes precision parts possible for all users and their applications. The node editing approach gives specific node elements that can be manipulated to make precision parts. Nodes can be placed at specific angles, distances, and have different curves applied to either polyarc or polygon nodes.
Even though node editing is one of the more difficult techniques to master with Torchmate CAD, there is a complete library of video tutorials available online through Torchmate University to help you master all the techniques required to get the most out of the software and your designs.
Get Ready to Customize!

In this episode, the welding cart was modeled after a few other images found after searching online. After deciding what features to include, such as places to store 2 welders and 1 plasma cutter, gas bottle storage, as well as places to put gloves, tape measures, welding helmets and jackets, welpers, and also places to help with cable management. This welding cart quickly went from the ultimate welding cart to the ultimate fabrication cart!
Once you’re design has been finalized, you’re ready to cut on your Torchmate table. After removing any rough edges using a grinder, you’re ready to weld! Start by assembling the frame of the table by welding together the square tubing, then attach the pieces of material that were cut out using the Torchmate table. With the table frame built, all of the accessory holders can then be placed in their locations. The casters and custom brackets for them can also be welded on, and when finished, the whole cart is ready for a coat of paint.
When you’re ready to design your own custom fabrication cart, head over to FabricationForum.com to find all of the design files used in this episode, as well as a list of materials used. When you’re done with your creation, share a photo of your new table to show it off to the rest of the community, and make sure to let us know how your build went!


