Design | Cut | Build – Season 1, Episode 6 – Build Custom Hitch Covers for Your Car or Truck
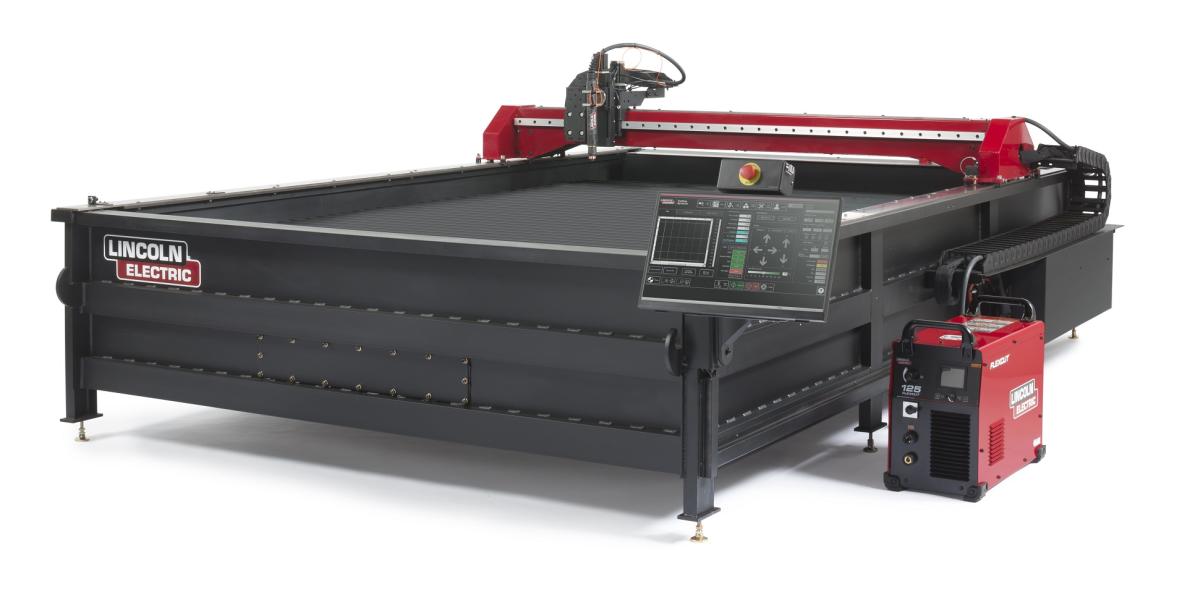
Making custom hitch covers is an easy way to showcase your designs in your home, shop, or out in public. Plus, it’s a great way to advertise your own business! In this episode we will show you how to make a variety of different hitch cover designs, including multi-faceted ones, with a Torchmate cutting table, some 3/16” mild steel, 2x2 tubing, some paint, and a few bolts.
Maximize Your Efficiency by Importing DXF Files into Torchmate CAD

Torchmate CAD lets users import existing CAD drawings made with other programs. This can help save you time and money when it comes to designing, and won’t make you waste time trying to redesign existing drawings that were made with other software. Torchmate CAD also has a variety of import options available, and a window will pop up upon placement of your imported DXF file. The window will prompt you for how you would like the file to be translated – with polyarcs or polygons, inches or millimeters, and if you want to remove any duplicate shapes or close any open ones.
The Connect Path feature can also be found within Torchmate CAD, and allows you to connect paths within a set distance between points. Manipulating this number can help you reduce the amount of time spent joining nodes by hand. Torchmate University has a full library of video tutorials available to help you learn more about importing existing DXF files into Torchmate CAD, and also joining and breaking nodes in the node editing tutorial.
The Stacking Decision

Once your designs are ready, they can be cut out using a Torchmate table. After grinding them down to remove any rough edges, they are ready to be painted! Depending on if your design will have several layers of metal stacked together or not, there are different ways of approaching how to weld them together. If the cover only has one layer, it can move straight into being welded onto the 2x2 piece of square tubing. If the design has more than one layer, it is recommended to weld the pieces together first, and then paint them. Make sure to drill a 5/8” hole about a quarter inch away from the end of the tubing so the hitch covers can be secured on the car or truck with a 4” long partially threaded 5/8” bolt with matching nut and a locking washer.
When you’re ready to create your own custom hitch covers, head to FabricationForum.com. There, you’ll find all the design files and a list of materials used in this episode. Once you’re done creating, share a photo of your project to showcase it to the rest of the community, and tell us how your build went!


