


Intermittent Torch Ignition
Check the Consumables
In the torch head the electrode must move up and down freely for the torch to fire. The plasma unit looks for continuity between the electrode tip and nozzle before the torch will turn on the air and initiate the arc. The air forces the electrode up away from the nozzle to make electrical contact with another contact point in torch body permitting current flow to the electrode.
If there is slag or foreign matter keeping the electrode from making electrical contact with the nozzle when the air is off the plasma unit will alarm and not fire. The alarm will reset after 10 seconds. If the electrode cannot slide up freely and make electrical contact after the air is turned on, the torch will fire with a lowered amperage, or misfire completely.
The Retaining cap for the consumables and swirl ring should only be finger tight, if the cap is over tightened the electrode may not move freely enough to function properly.
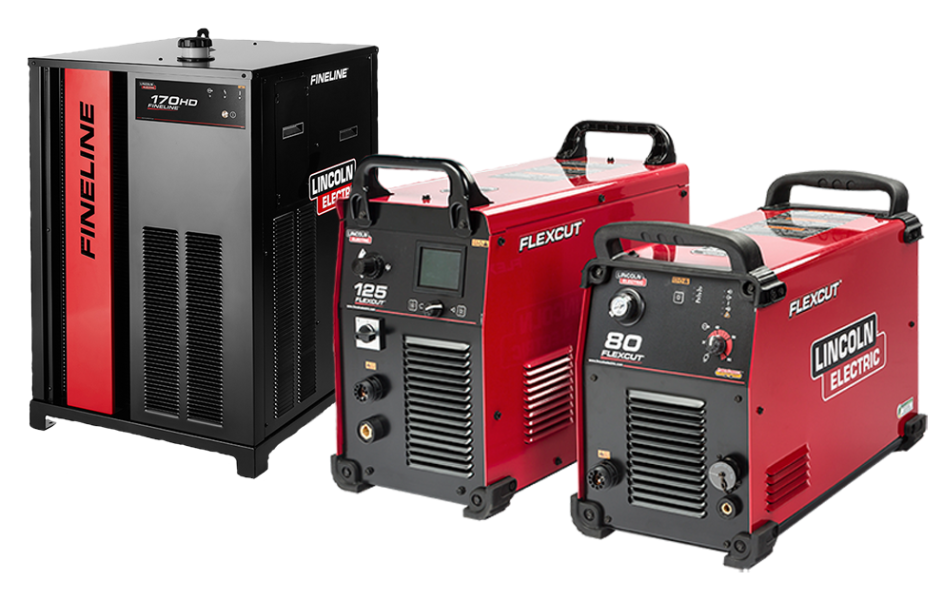
Check the Compressor
The air pressure fed into your plasma cutter must be in the range of 90 to 120 psi in order to consistently create plasma in a given range of 65 to 90 psi. If you are using a compressor to supply air to more than one line at a time, be sure that it can maintain a level of pressure to allow all lines to consistently supplied, otherwise your tank may be draining faster than the compressor can recharge the holding tank. Consider switching to a dedicated tank for you plasma operation.
In the process of creating compressed air, water condensation collects in your holding tank. This condensation can also leak into the line supplying air to your plasma cutter. In most plasma torch systems, a water separator valve is utilized to allow the collection and drainage of excess condensation passing through the air line. Even with this preventive measure, condensation can still bleed into the torch line itself, and cause misfiring, or total system failures. To ensure that the excess condensation is removed, drain your holding tanks and water separator often, or whenever condensation is present. This will help to prevent Ignition failures.
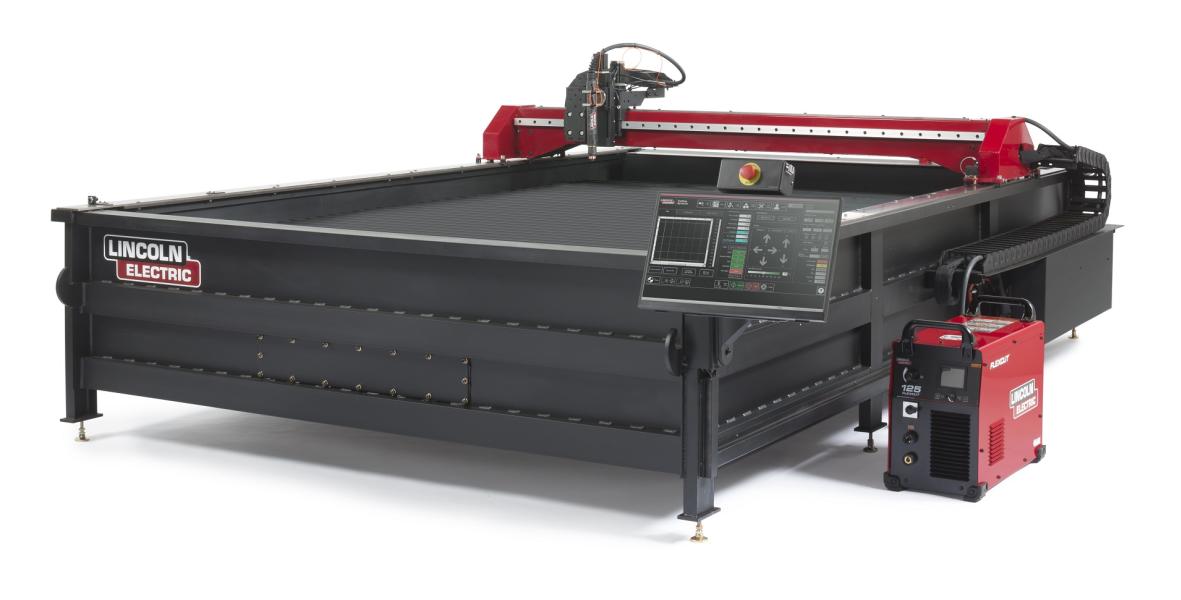
Work Clamp
The work clamp, or ground wire, should always be attached to the material that you are cutting. This will ensure that the electricity needed to cut through the material is flowing from the Torch tip (Negative charge) to the work clamp (Positive charge) in a path of least resistance. Attaching the work clamp to the table can cause this electricity to flow through other components of the table, such as the motors, and cause internal damage.
Dwell Timing
The dwell or delay (M code 50) should be consistent with the type of operation you are working with. For example, if you are utilizing Manual control, Arc Voltage Height control, or Proximity Sensor control, the delay time before the cut program is initiated will differ. In Manual control, the torch is set to a fixed position above the material, thus a delay of 1 to 1.5 seconds is sufficient. When utilizing AVHC, the delay time must also allow for the downward sensing of the material, the pierce height establishment, and the reading of consistent voltage before the cutting sequence can begin. The minimum delay time in this case would be set to 3.25 seconds, however this delay may increase with thicker material uses. Testing of the delay may be necessary to find the timing that works best for your material. Proximity Sensors are utilized to measure the distance from the material you are cutting. This delay in this case should be set to 4 seconds to allow for consistent reading of the material before the plasma creation is initiated.
In all cases the M code 51 setting should be set in a range from 1 to 1.5 seconds, to allow for air to wash over the consumables in an effort to cool them, prior to the next torch cutting sequence.
Troubleshooting
If the air comes on prior to a torch ignition, but the torch does not fire, check to see if there are any warning lights flashing or continuously lit which are displaying a malfunction on your plasma unit. If so, check your plasma unit’s manual for troubleshooting help, or call the Technical Support of the manufacturer for preventive and/or corrective measures.