


This guide will walk you through how to properly set up your software for multiple tool actions during a single program.
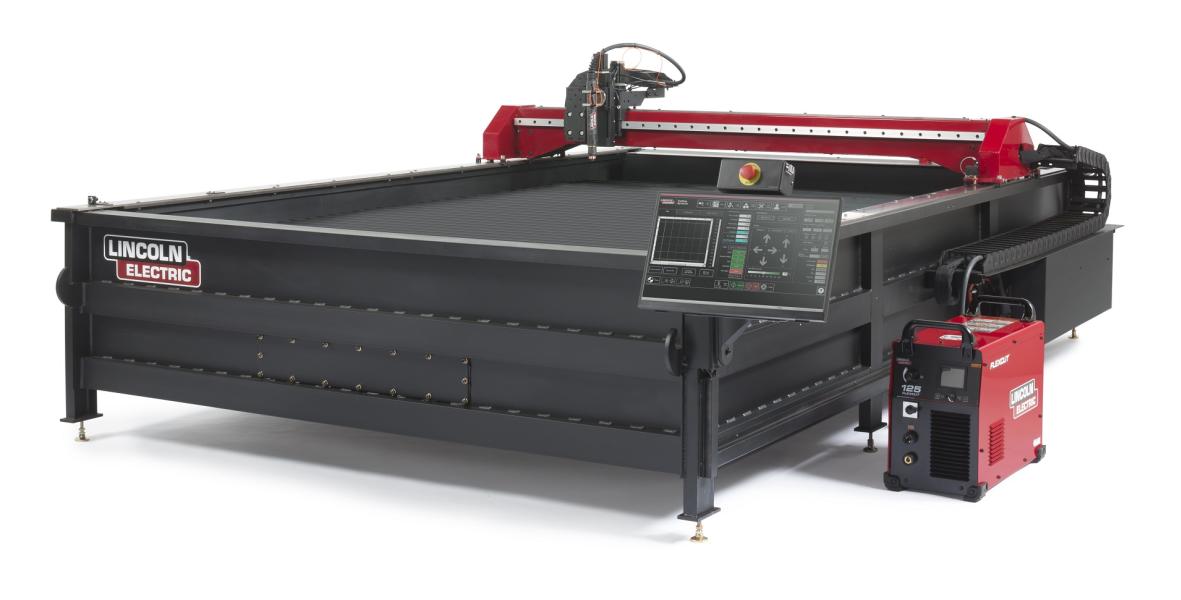
Torchmate CNC systems feature multiple tools that can be used with the system. If more than one tool is installed on a CNC table the software must be configured to alllow each tool to operate.
The Torchmate driver software version 3 is designed to work with numerous table configurations. As such there are a few necessary steps to ensure that the software is configured properly. These steps cover testing the motor signals and setting what type of motors are used.
Cut quality is predominantly determined by three settings, speed, height, and amperage. Finding the best settings for all three as well as a few other settings will allow for the best quality cuts that plasma can produce.
Express Mode is used to smooth out table motions when traveling at slow speeds under 20-30 in/min.
Use this as a page by page configuration set-up guide for your Version 2.14 software.
These pages are supplemental to the Torchmate 2.09 Plasma Configurations, and discuss changes made to only certain pages of the Configuration menu to allow the Routing tools to be utilized.
There are three basic reasons for poor circular cutting, the design of the image, the mechanical operation of the gantry, and the plasma cutter’s configurations. We will discuss all three of these topics and how they are adjusted in version 2 of the Torchmate driver software.
If you are finding that your machine is not making true direction movements, or that the machine is changing the outcome of your design even though the program is telling you that the movements are correct, it could be the result of your X or Y axis being out of alignment. This guide explains the steps for version 2 of the Torchmate driver software.
Using the jump to line feature in the Torchmate driver software version 2.
Feedrate and Ramping trouble shooting for Version 2 of the Torchmate driver software.
Program zero is the position the torch will need to be at before starting a program.
This guide expalins how to import a file into version 2 of the Torchmate driver software.
This file contains a brief synopsis of the features and tools available in the Torchmate driver software. Below is the main screen page you will see upon opening the program, either in Online or Offline mode. Toward the top you the screen you will find the Menus available; File, Configuration, Controller, View, Coordinates, and Help.
This guide outlines the basic operation in Version 2 of the Torchmate driver software.
Adjusting your contiuous contouring can help with sharp direction changes.
This guide expalins how to mount and control an oxy fuel torch in version 1 of the Torchmate driver software.